A while back I wrote an article all about beans. Truthfully, it was probably more information on the acclaimed "musical fruit" than you ever really wanted to know: facts about the health benefits, their drawbacks, why these delightful little plant foods often cause gas and tips on how to prepare them healthfully. Yet, I still can't seem to emphasize the importance of pre-soaking beans enough. This simple practice can revolutionize your legume-munching experience, and give you the opportunity to include this treasured nutrient-dense food group in your diet without the stereotypical digestive repercussions. Use this picture-filled guide on soaking black beans to get started.

With their rich purple-y tones, velvety texture and appealing earthy flavor, black beans have been used as a staple in global cuisines for centuries. Paired with meats or vegetables, in chilis or stews, they contribute a dynamic quality to meals, as well as a hearty serving of precious vitamins, minerals and antioxidants. As a variety of common bean (technically termed Phaseolus vulgaris), they share many qualities with their relatives such as kidney, navy and pinto beans. However their distinctive dark, shell-like skins set them apart, and have won them the charming nickname of "turtle bean."
Many people today avoid black beans altogether because of concerns about carbohydrate intake or the havoc and embarrassment legumes can create involving the human digestive system. However black beans actually contain many beneficial nutrients and can be a healthy occasional addition to primal-style diets when properly cooked. Traditional practices of soaking black beans prior to eating have also been shown to reduce bothersome compounds significantly. Advantages of preparing dried black beans by soaking method include:
- Reducing phytates and tannins that can block the absorption of the naturally occurring vitamins and minerals
- Minimizing flatulence-causing substances by up to 33%. This includes compounds like raffinose and stachyose.
- Enhancing nutrient stores. This includes increasing the bioavailability of folate, copper, manganese, B1 vitamins, phosphorus, magnesium and iron among others.
- Avoiding the toxins associated with canned goods (BPA being the most famous of course, but also metals and an assortment of other resin-based coating chemicals)
- Retaining the healthy resistant starches that act as natural prebiotics. These "indigestible fibers"make their way down to the large intestine where they act as a source of fuel to support the growth of friendly gut bacteria.
Basic Black Beans
This beloved recipe adapted from the Nourishing Traditions Cookbook serves as a simple starter to making black beans. While it might seem like a burdensome time commitment at first glance, you will see that the bulk of it is leaving beans on the counter. So unless you want to sit and watch, the recipe hardly takes any minutes out of your busy day. Once the beans have been prepped following these instructions, they can be creatively spiced, stewed, refried or used to your tastes.
Makes 4-5 cups cooked
Ingredients
1 cup dried black beans
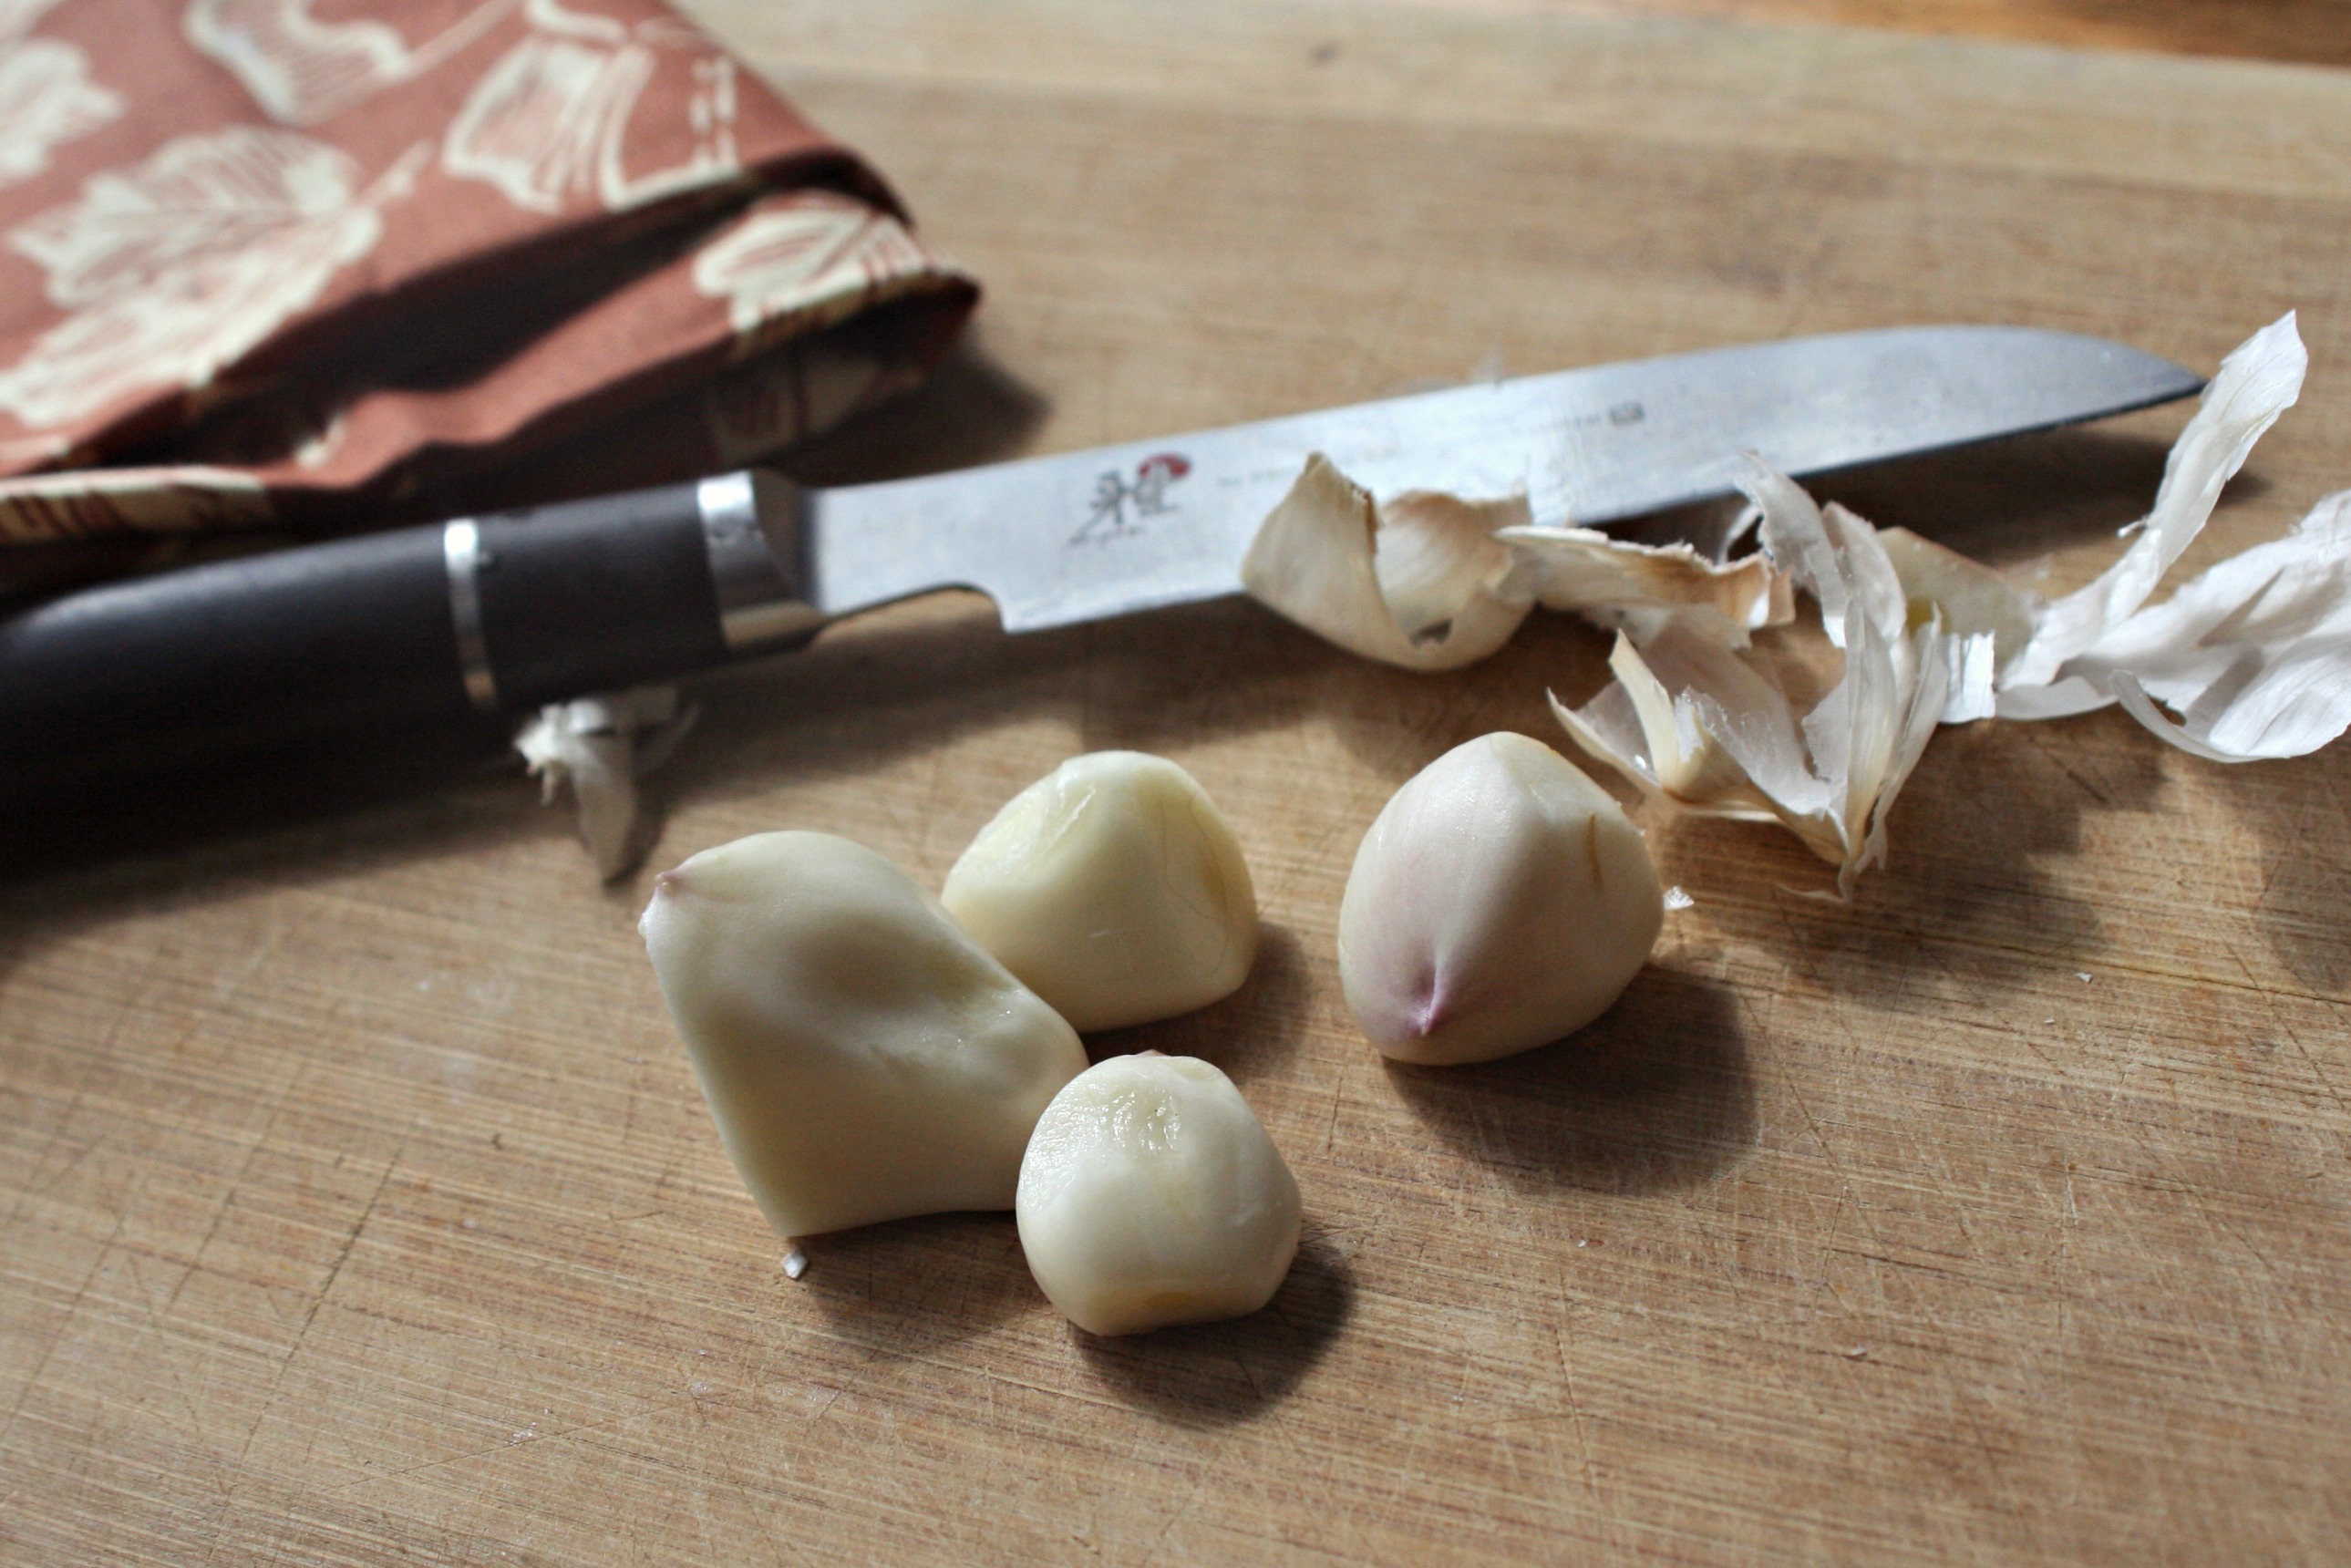
2-4 cloves garlic, peeled and mashed
Measure out dried black beans into a large bowl. These can be found bagged or in the bulk section of the grocery store.
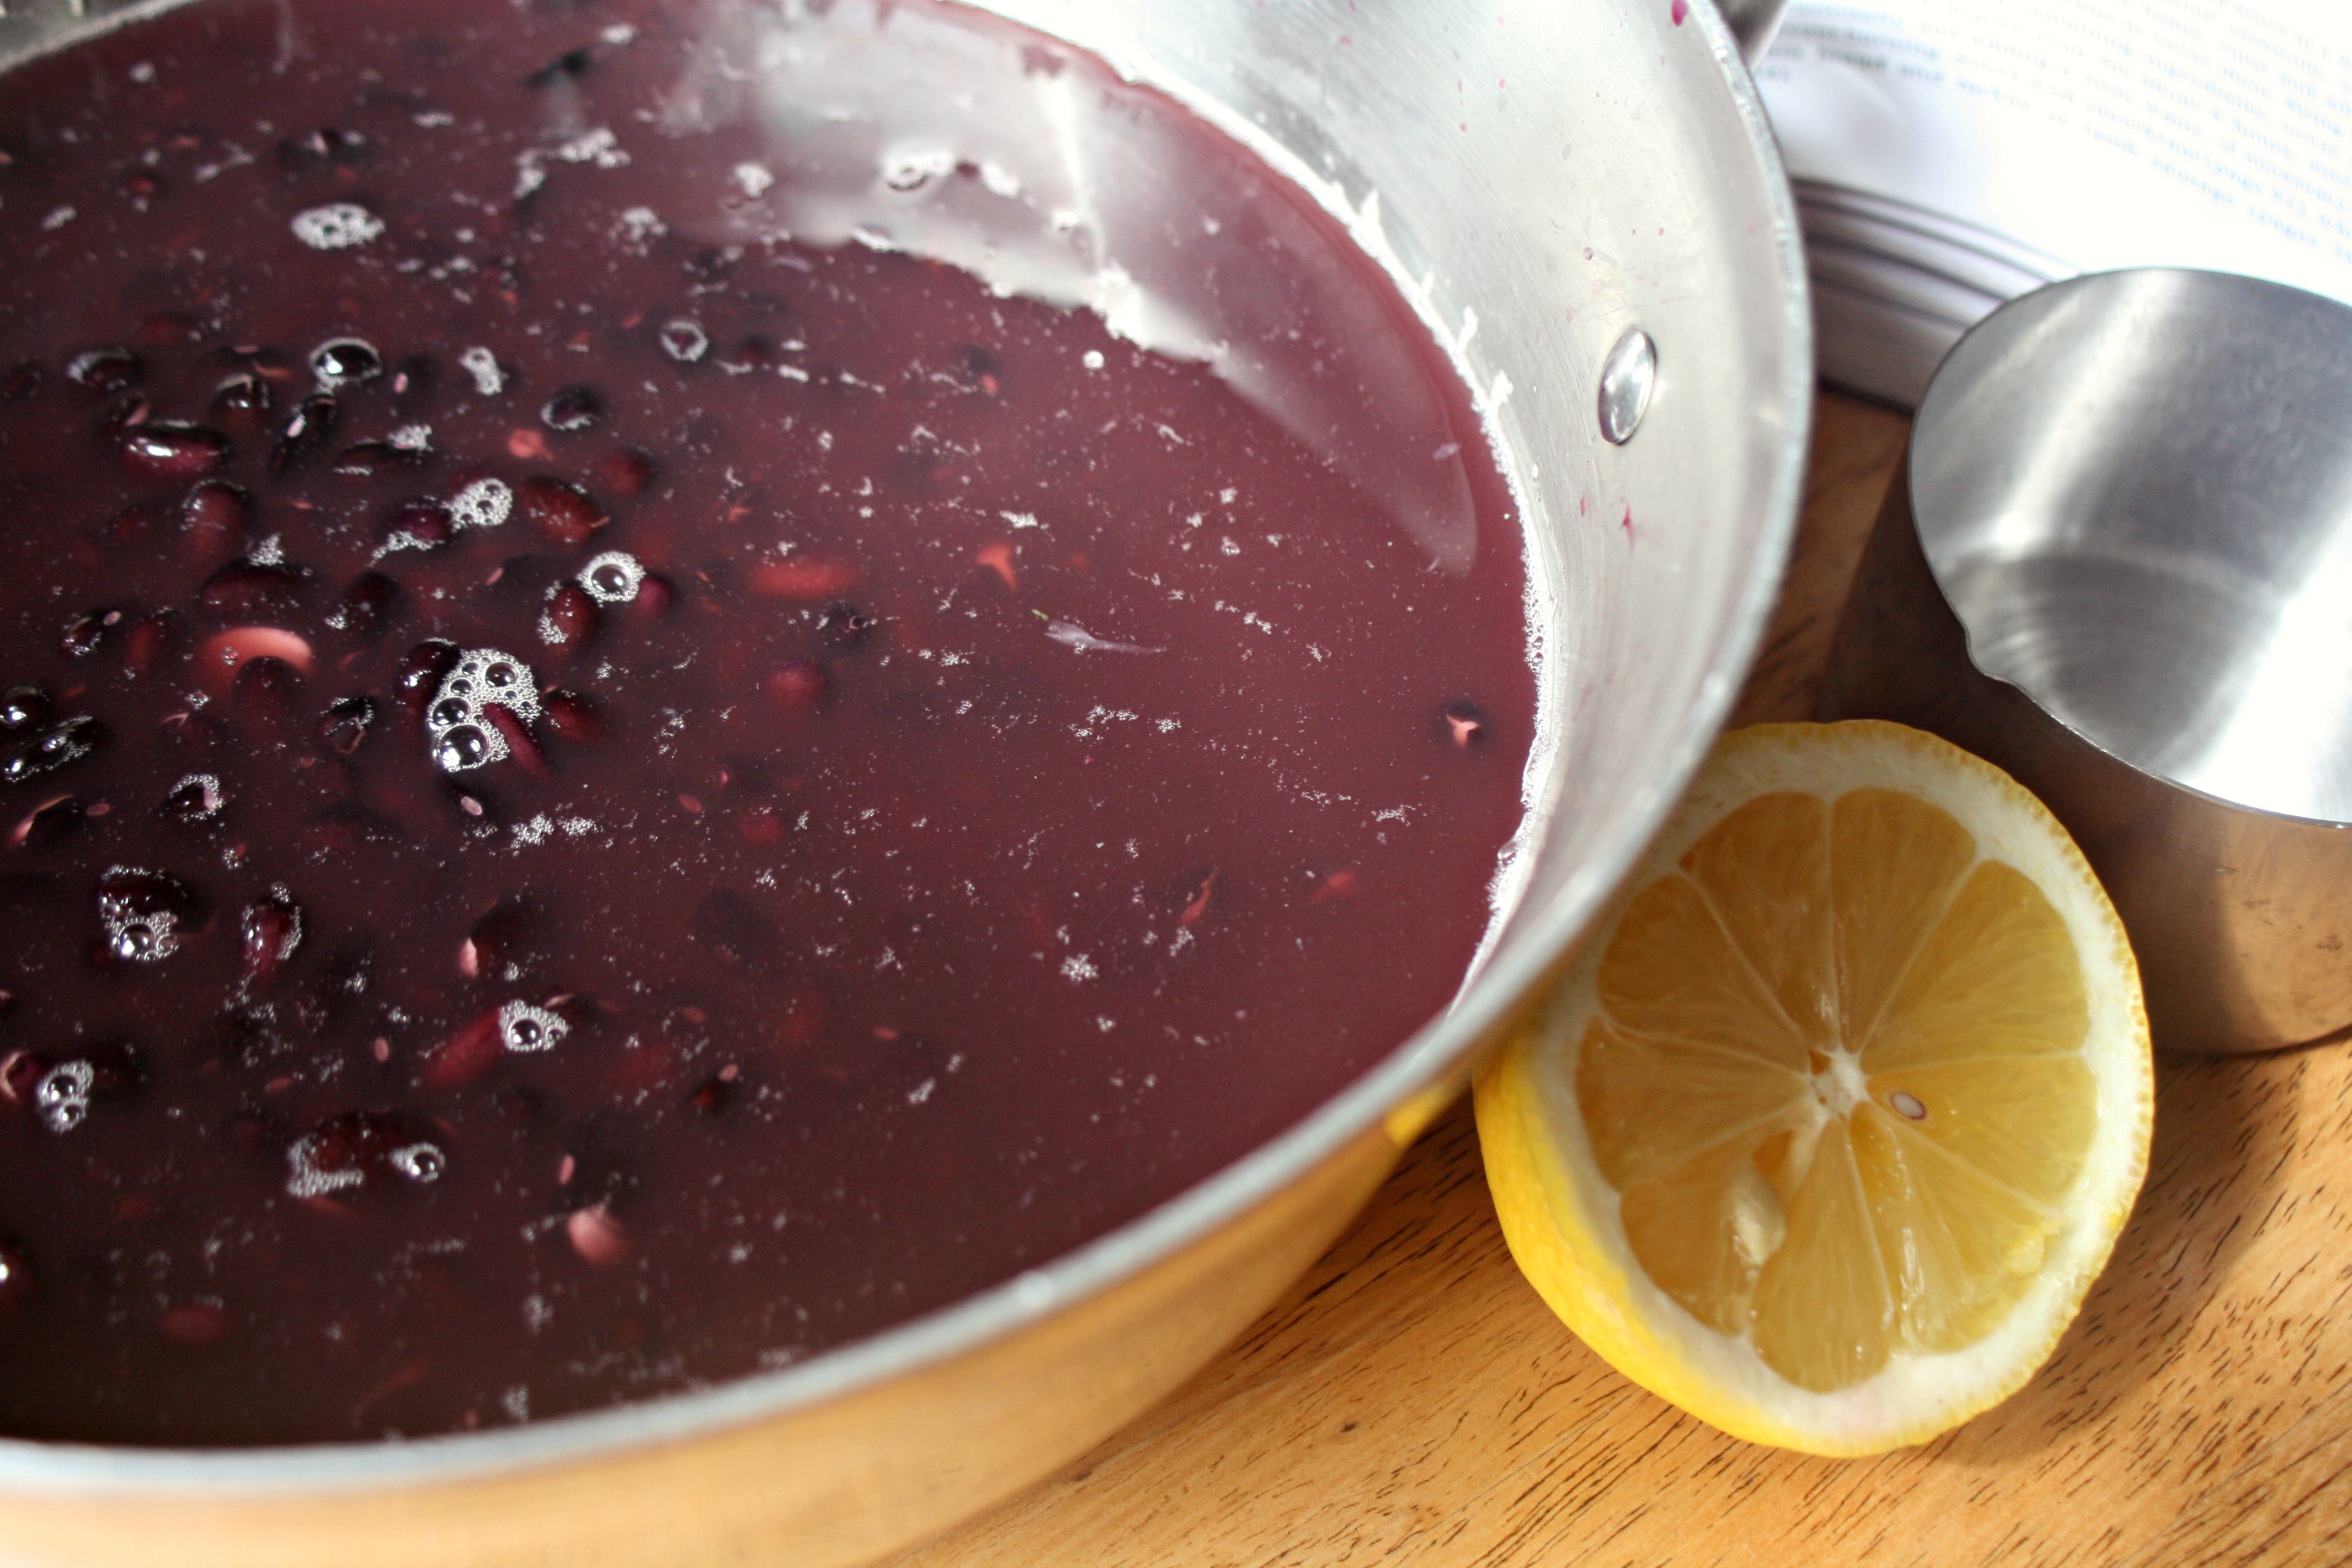
Add enough warm water to cover.
Add lemon juice or whey. I enjoy the satisfaction of fresh-squeezed lemon, but a bottled variety of lemon juice will also work just fine. If you opt to use whey, learn how to make your own here.While not necessary for soaking all legume variety, the extra acidity from these additives helps to breakdown the stubborn compounds in the black beans.
Allow to sit in a warm place, covered for 12-24 hours.
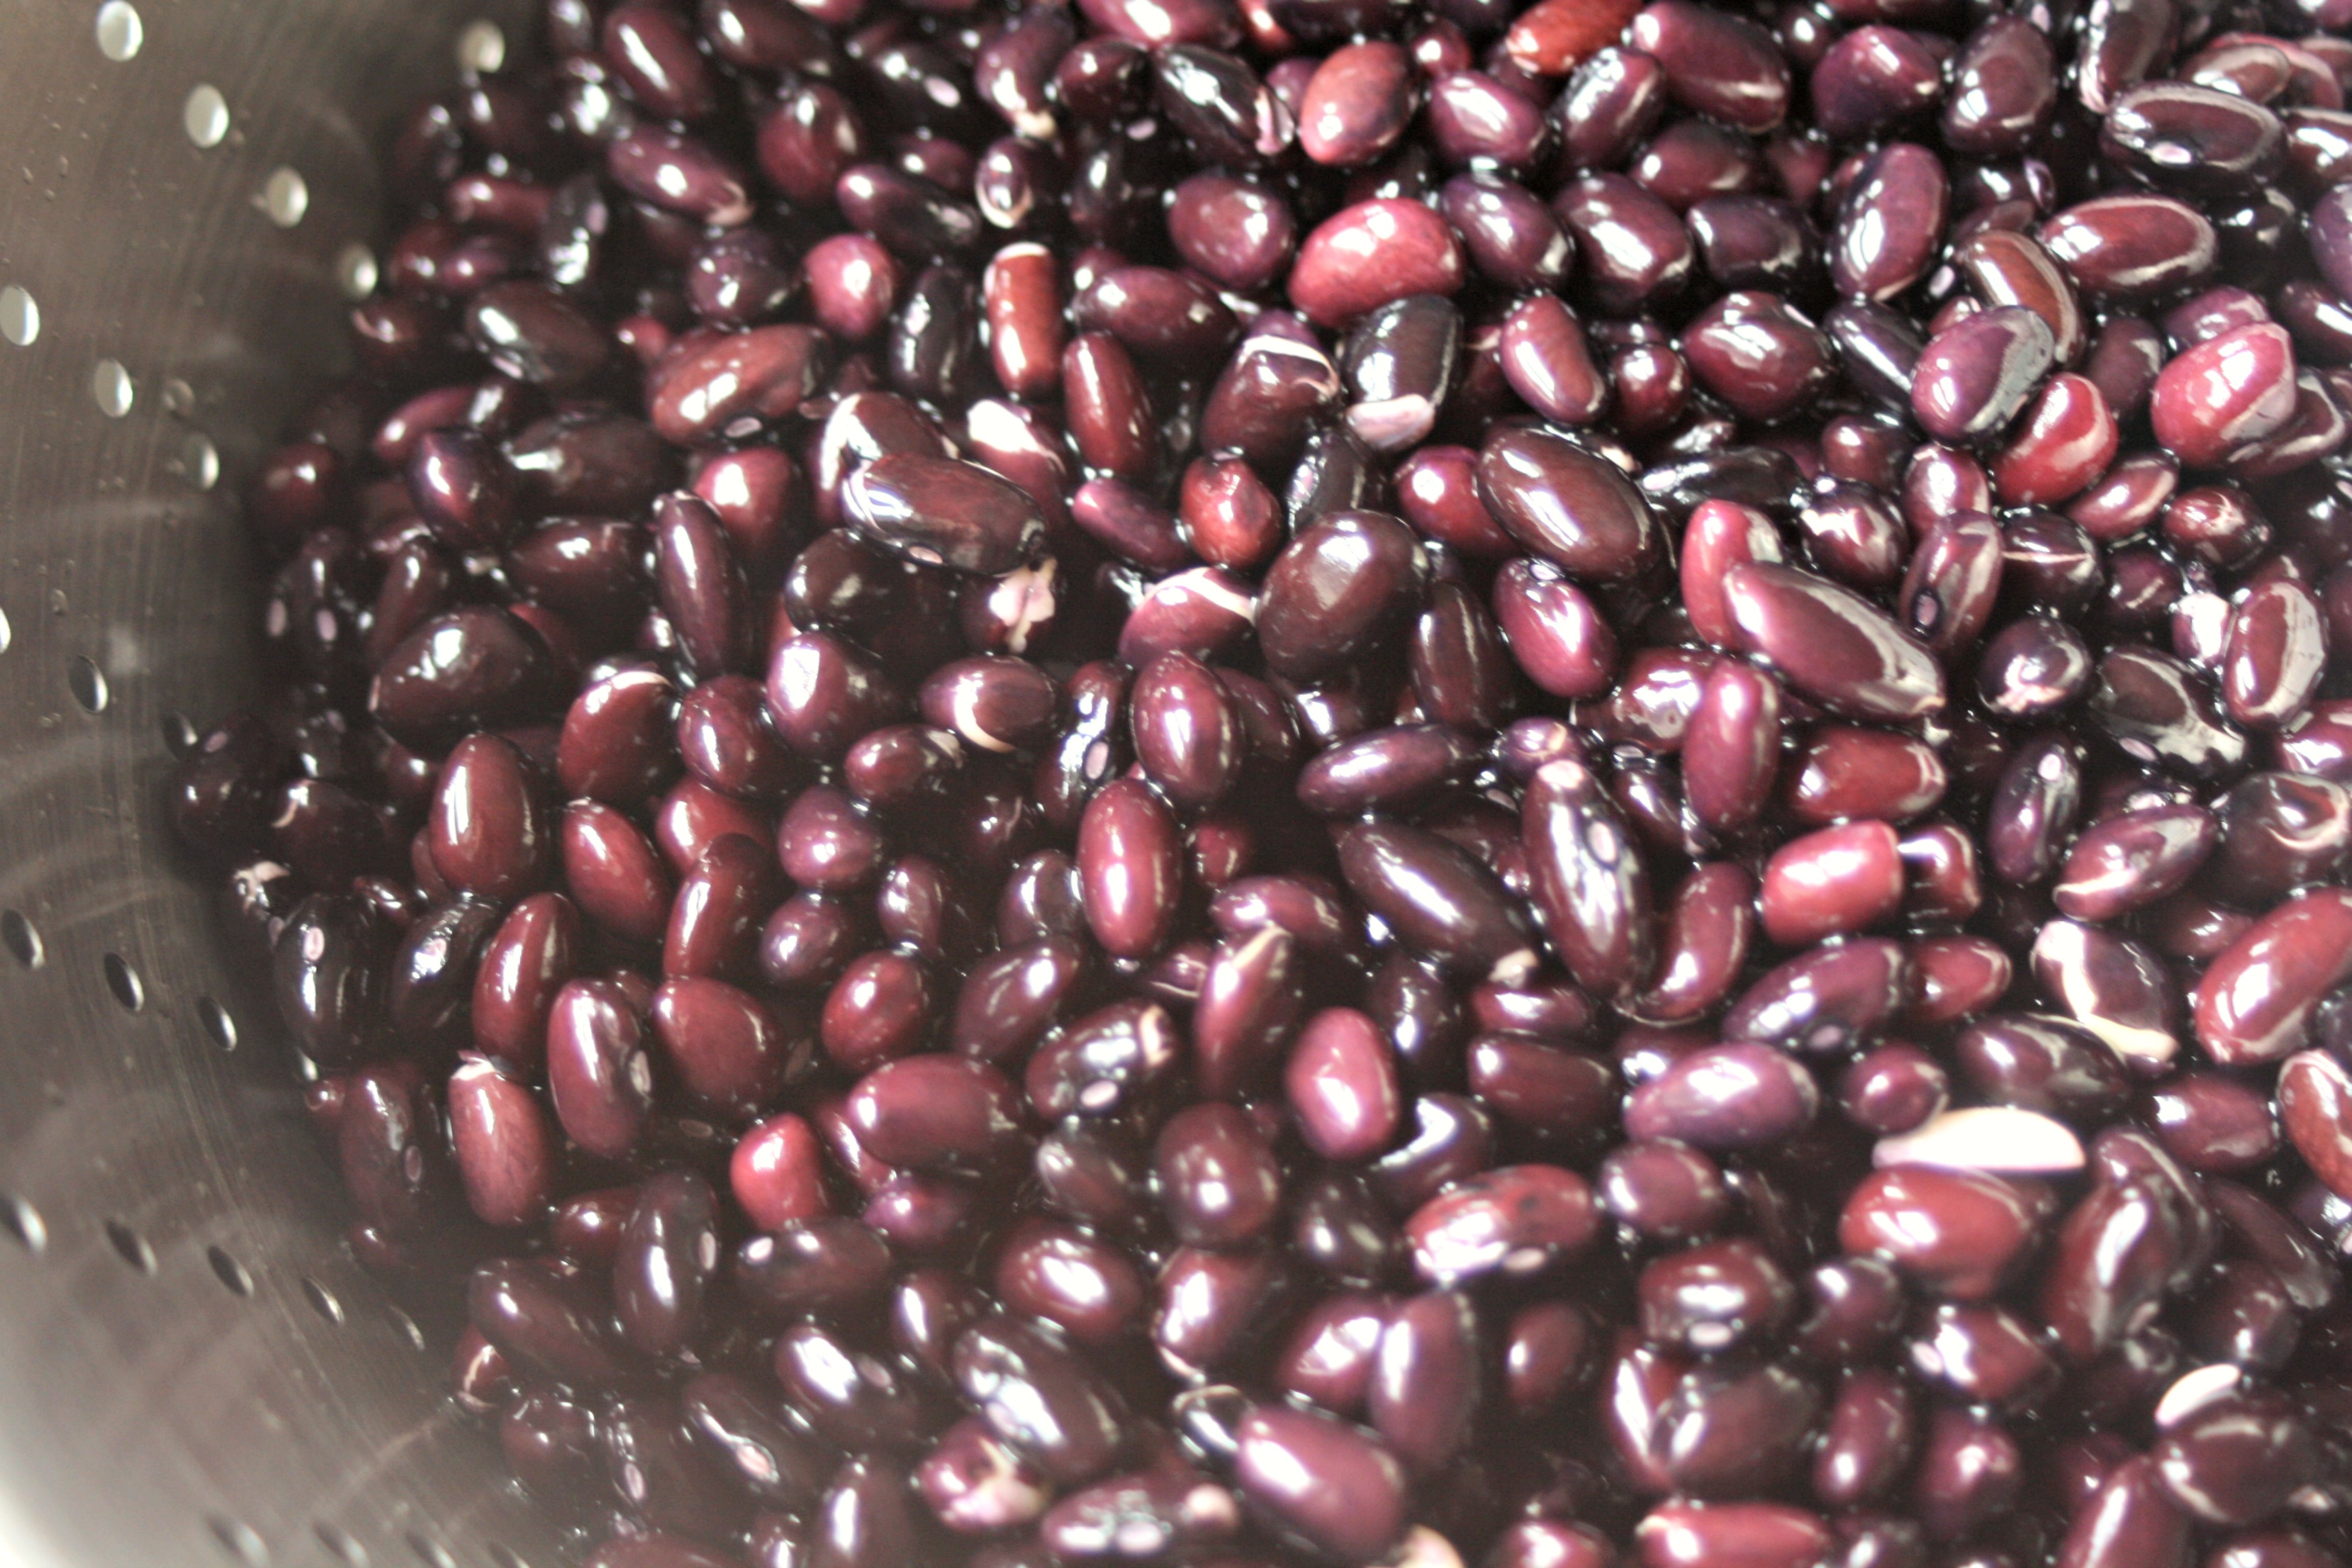
When the time is up, strain beans and rinse thoroughly. The beans will be softened, but should not be too mushy. They have such a beautiful color. Be sure to take a minute to appreciate it!
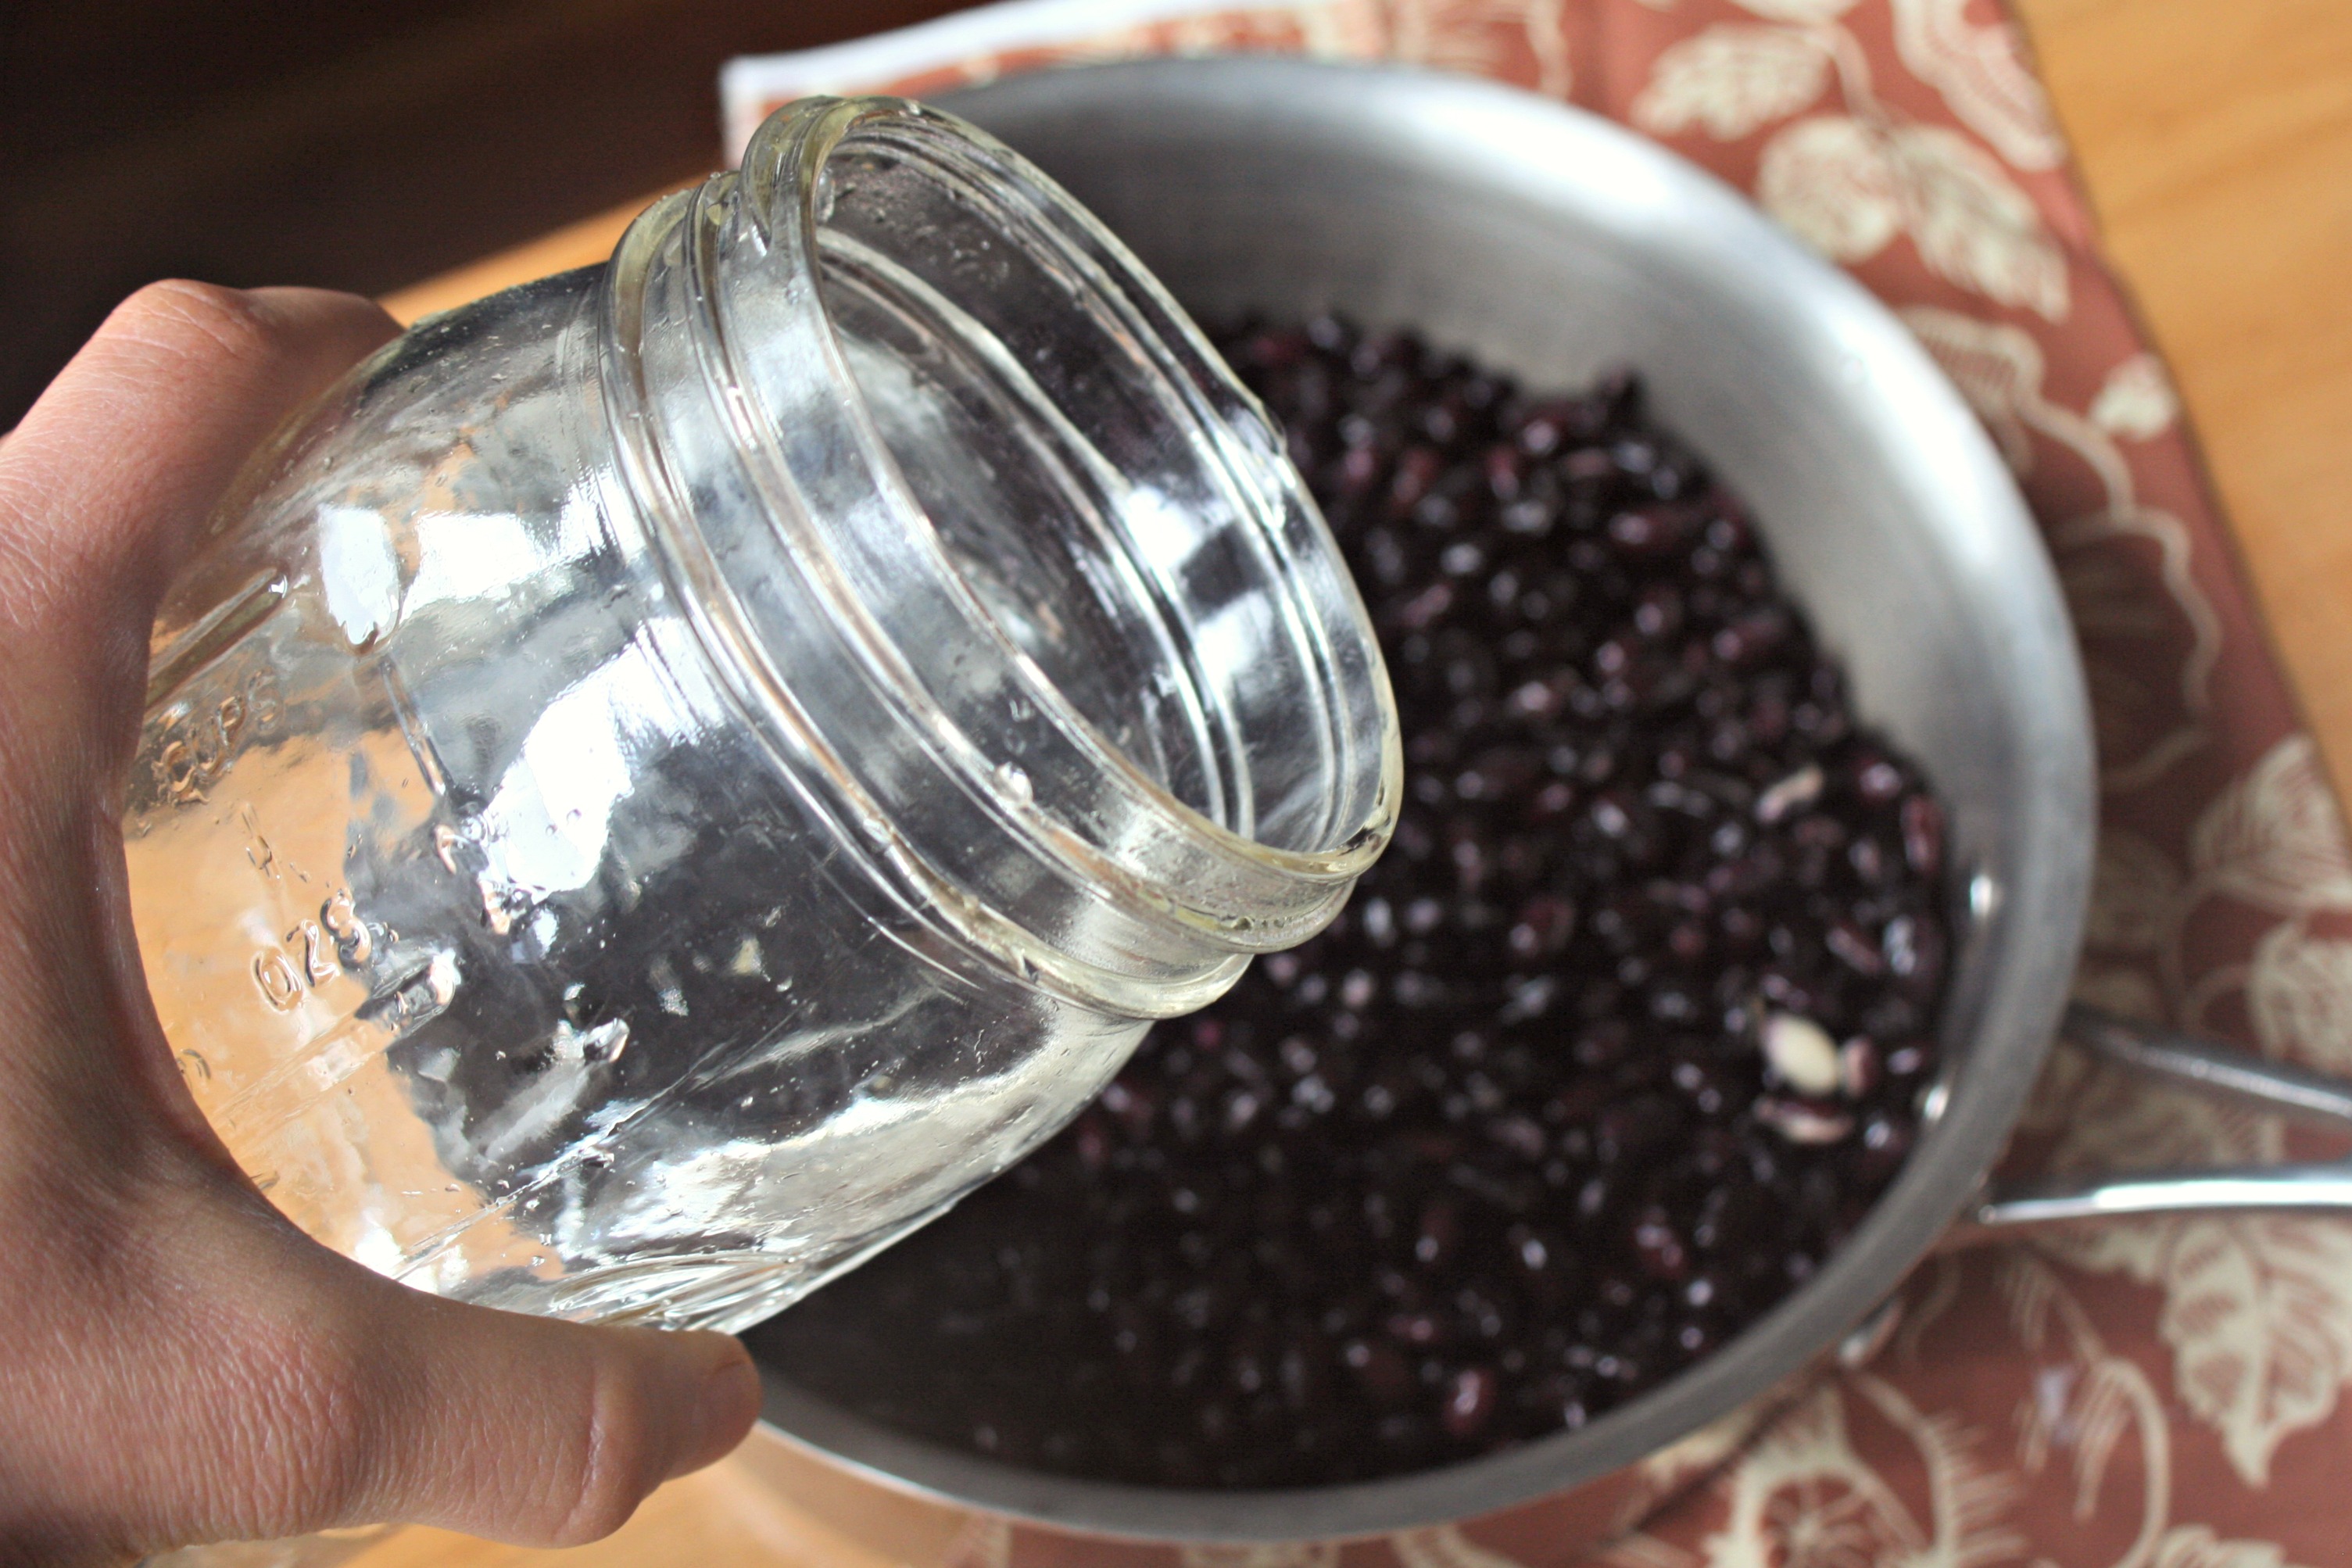
Transfer rinsed beans into a large pan. Cover once again with filtered water.
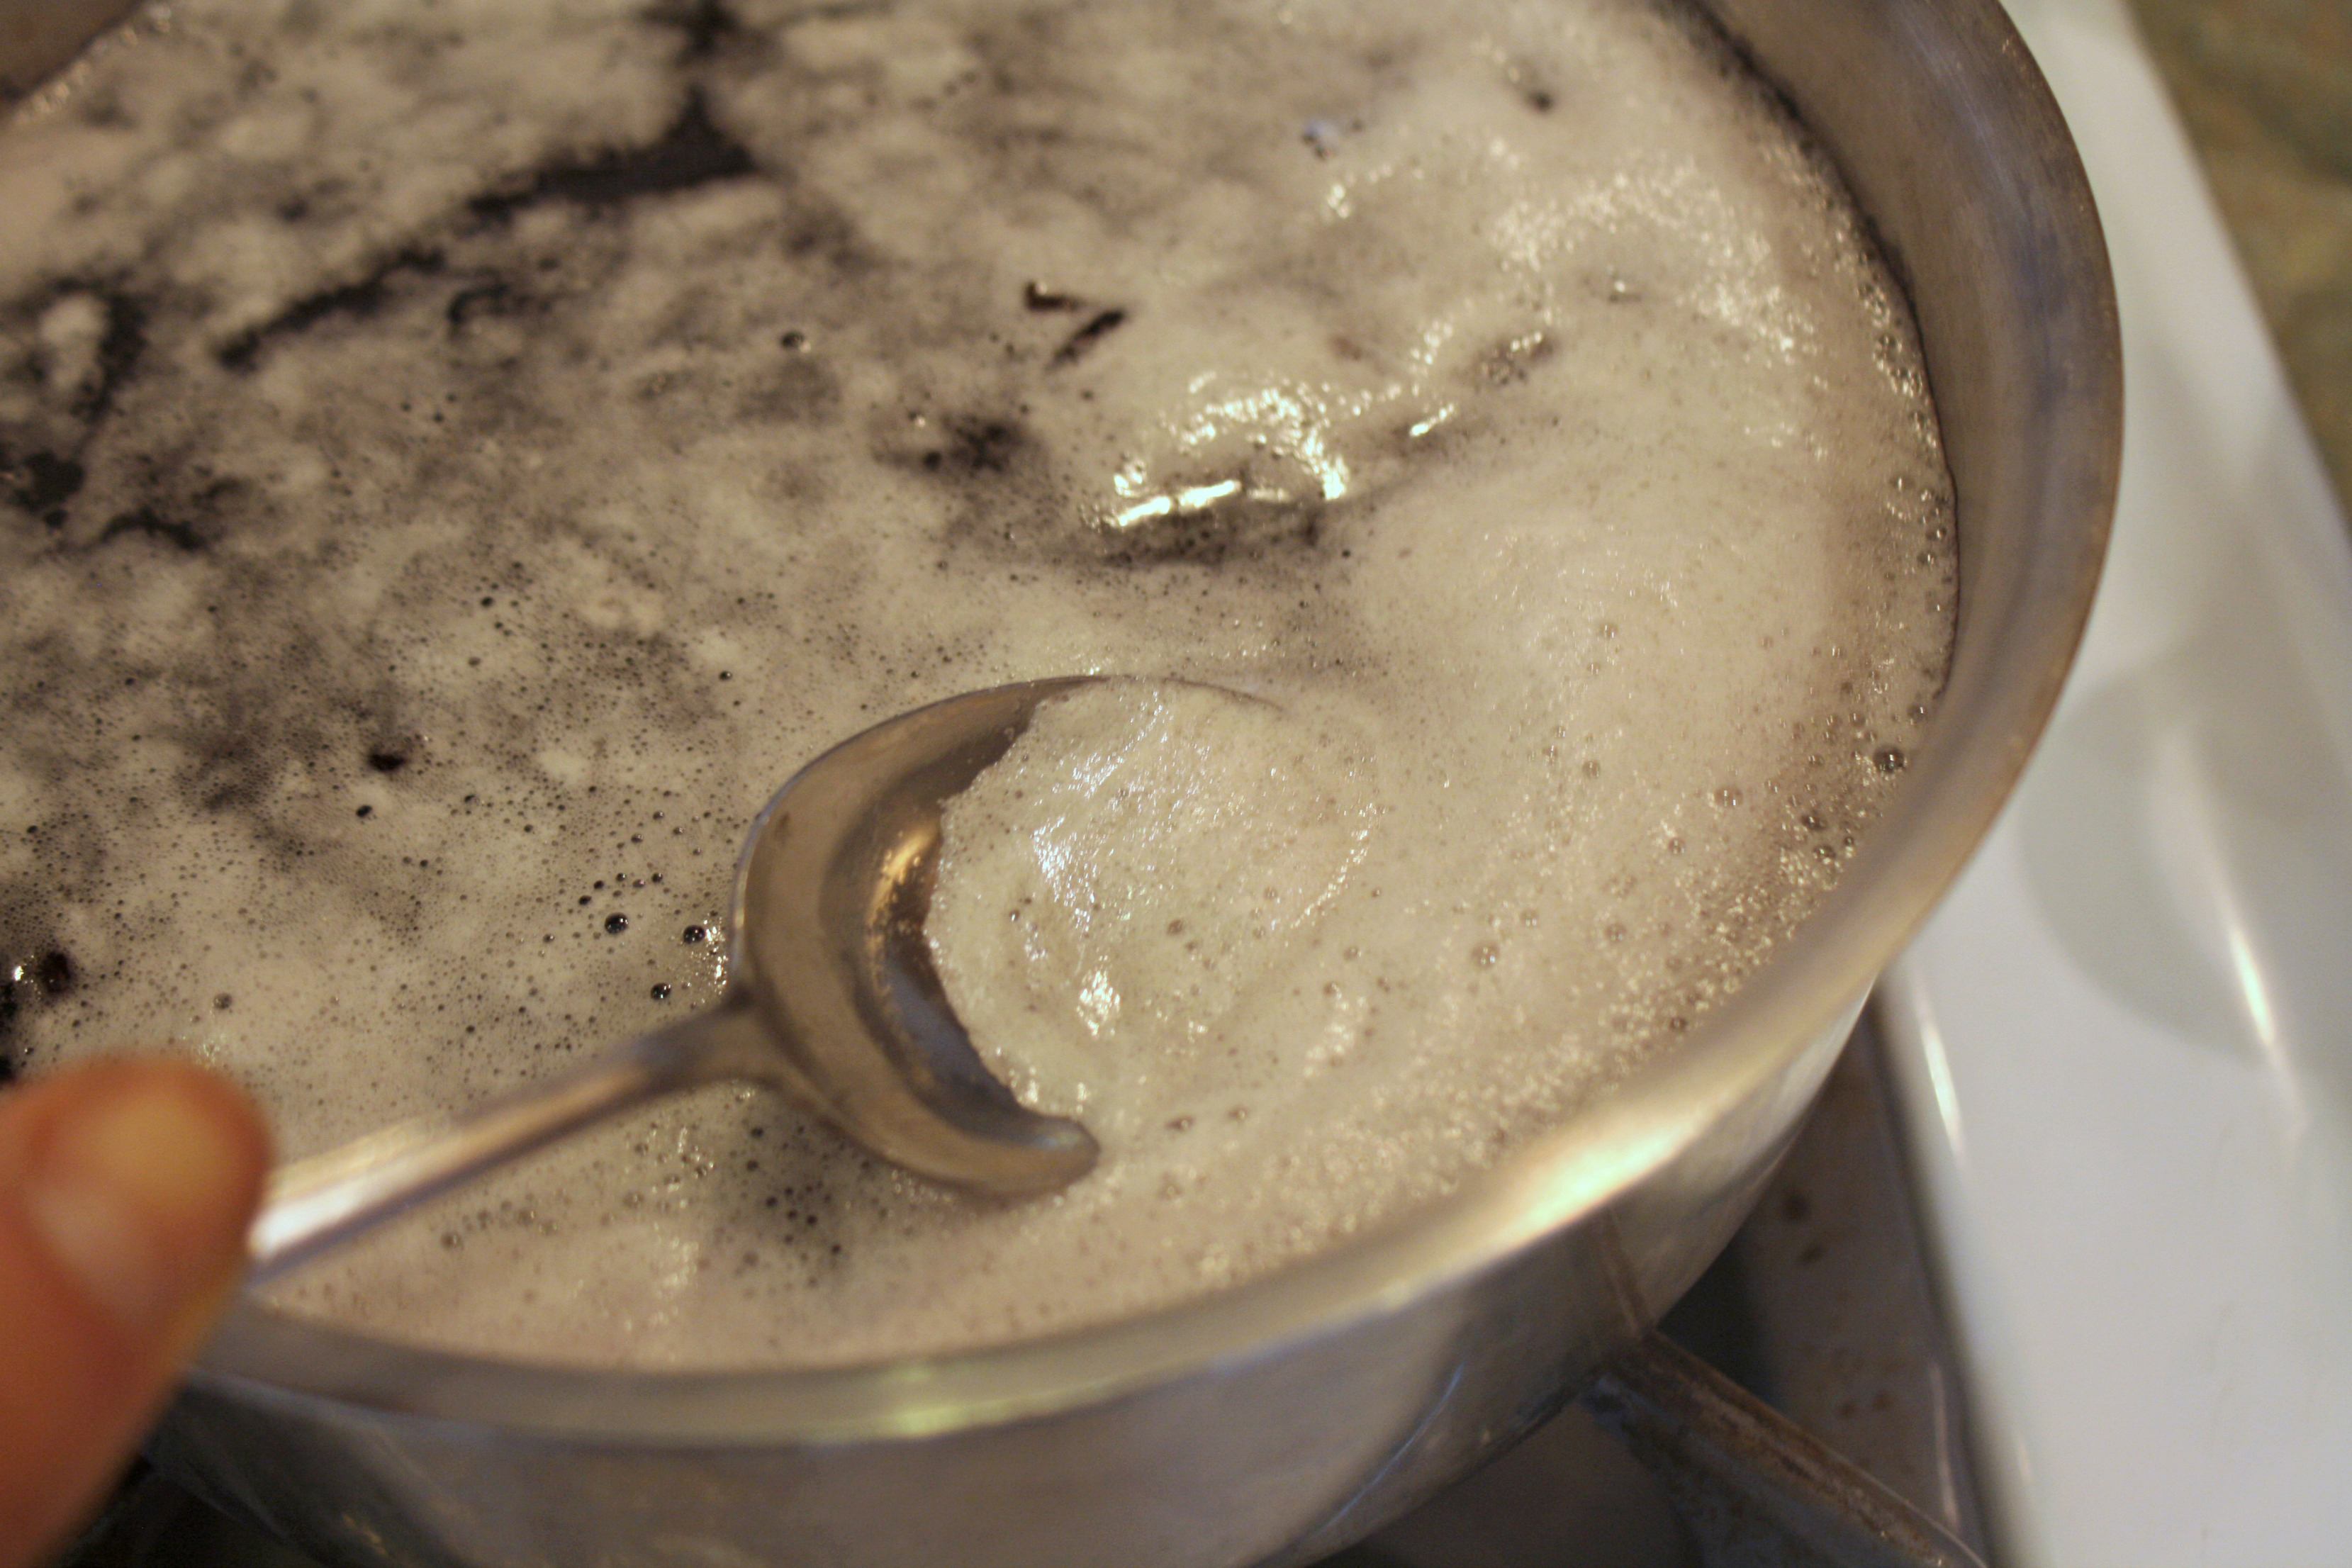
Bring to the stove and heat to a boil on high. You will notice a good deal of foam accumulating on the surface. These are additional impurities that should be remove with a spoon and discarded. Be careful as you do so- the pan and steam will (obviously) be hot!
Turn heat down and leave to simmer gently for about 4-8 hours. You can check back and stir periodically if you want, but you can also trust that the beans will be just fine on their own.
During the simmer, peel and mash your garlic cloves. The earlier on you add the garlic the better, allowing the flavor to build as the simmer continues. Add salt and pepper as well.
Then continue to do nothing! Relax, read a book, smell the lovely aromas. Or you could of course do that laundry that has to get done too...
After the alloted time, simply remove beans from stove and strain remaining water.
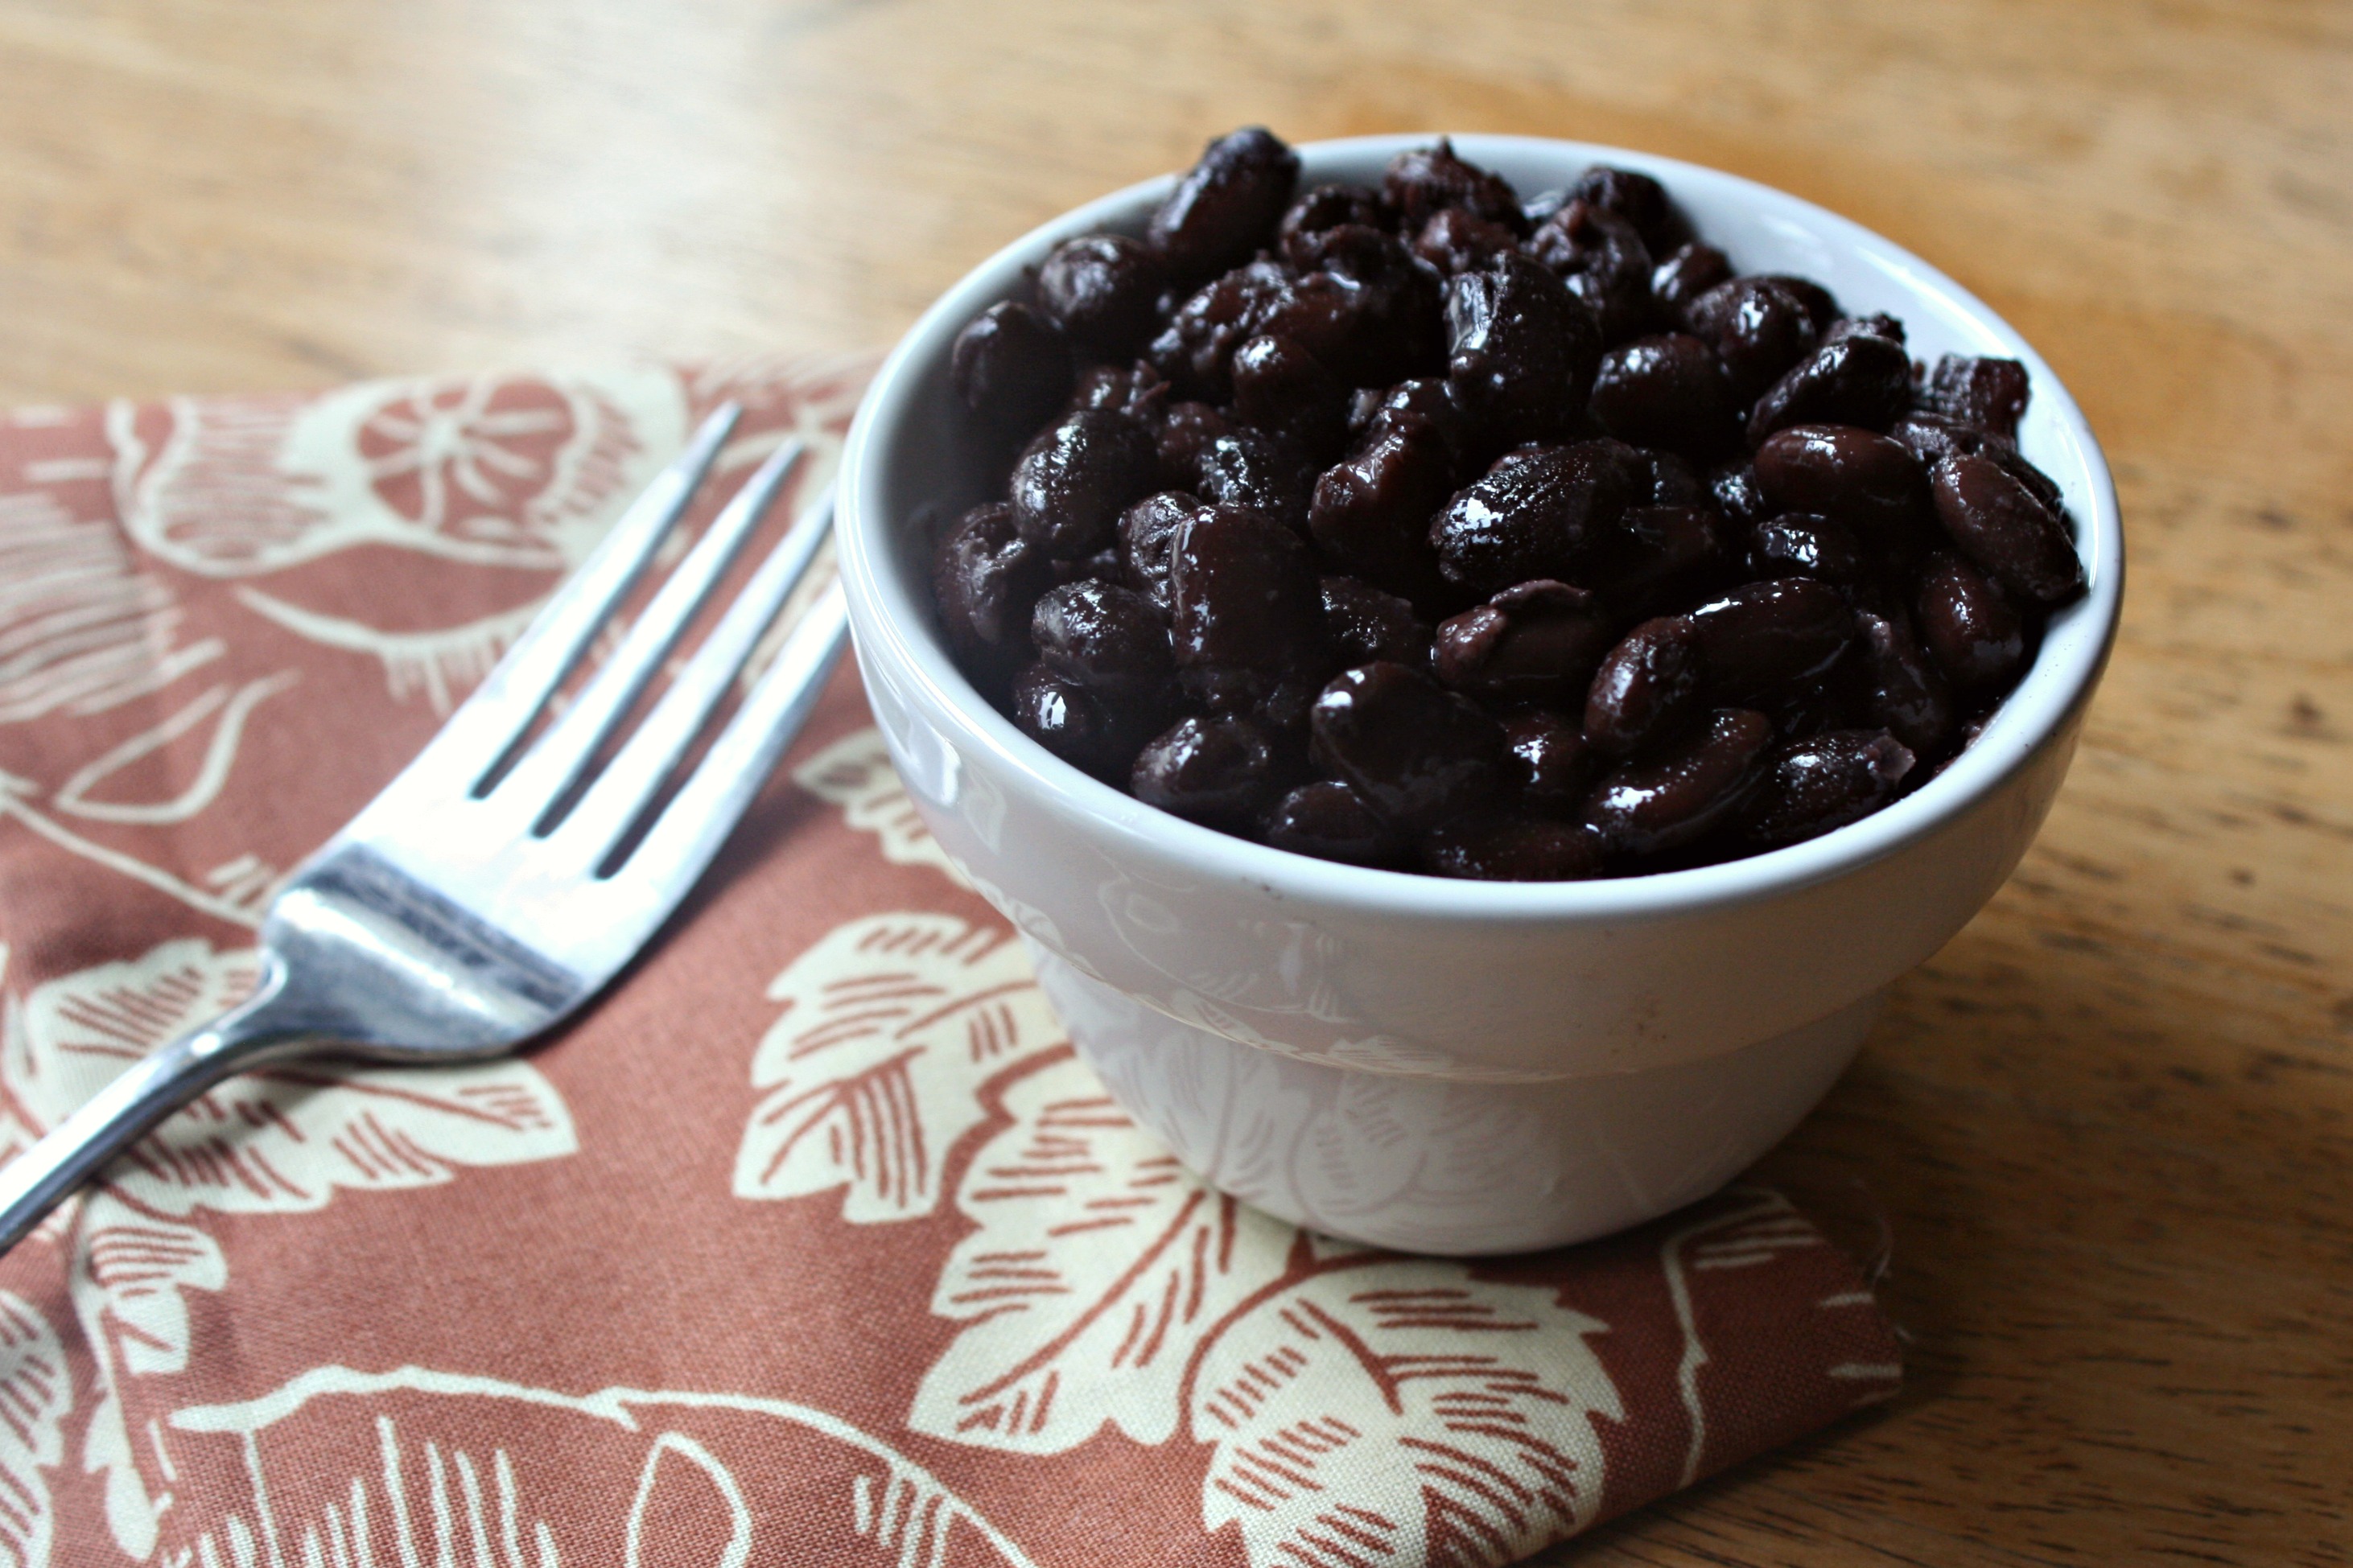
And there you have it! Some digestively friendly, tasty black beans to use in whatever way you wish. Now that wasn't so bad was it? Enjoy!